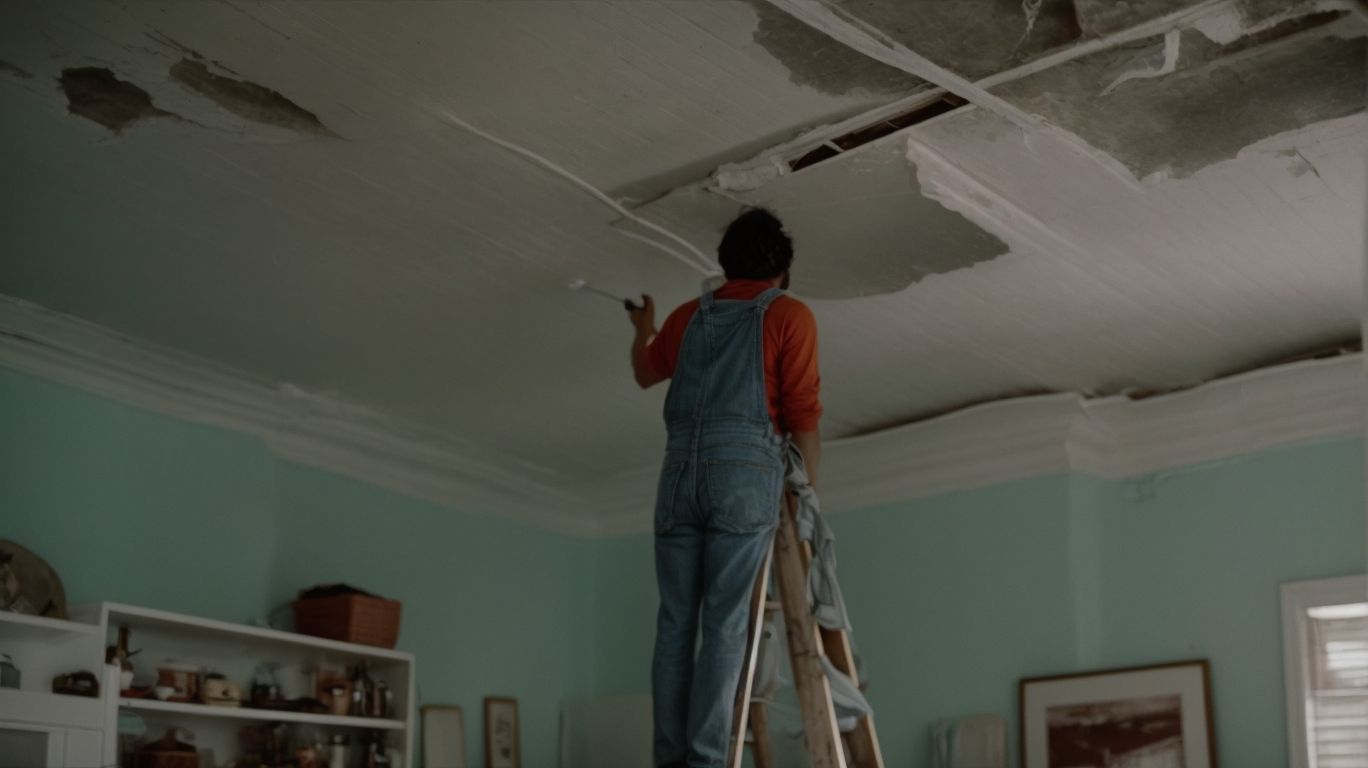
Are you dealing with unsightly cracks, water damage, or sagging ceilings in your home in Southern Ontario? It’s time to roll up your sleeves and take matters into your own hands with some DIY ceiling repairs.
In this comprehensive guide, we’ll walk you through the different types of ceiling damage you may encounter, the essential tools and materials you’ll need, and a step-by-step process to tackle those pesky issues. We’ll also cover important safety precautions, knowing when to call in the professionals, and tips for maintaining a healthy ceiling in the long run.
So, if you’re ready to transform your ceiling and give your home a fresh, polished look, read on for everything you need to know about DIY ceiling repairs.
The Breakdown:
- DIY ceiling repairs can save money and time, but it’s important to assess the damage first and gather necessary tools and materials before starting the project.
- Common types of ceiling damage include cracks, water damage, sagging, holes, and stains, each requiring different repair techniques.
- Safety precautions must be taken when repairing a ceiling, and it’s best to call a professional for extensive damage or if unsure of how to properly fix the issue.
Types of Ceiling Damage
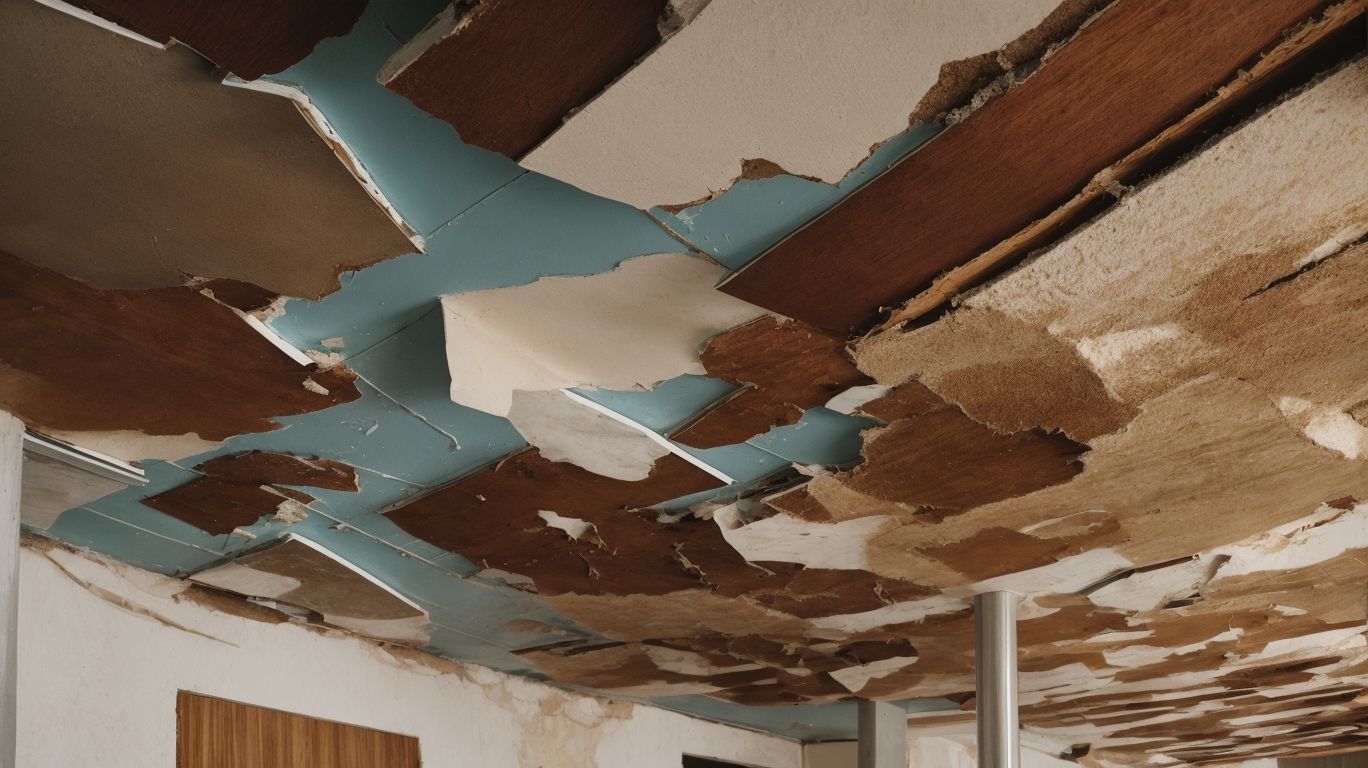
Ceiling damage can manifest in various forms, including cracks, water damage, sagging, holes, and stains, posing aesthetic and structural concerns that require timely attention and effective solutions.
Cracks in ceilings often result from settling or shifting of the building’s structure, moisture changes, or even poor installation. Left unaddressed, these cracks can compromise the integrity of the ceiling and lead to more extensive damage over time.
Water damage, a common issue, typically stems from roof leaks or plumbing issues. This not only damages the appearance of the ceiling but also poses health risks due to potential mold growth. It’s crucial to locate the source of the water intrusion and resolve it to prevent further harm.
Sagging ceilings may indicate a serious structural issue, such as roof or foundation damage. Professional assessment and repairs are necessary to prevent collapse and ensure the safety of the occupants.
Unsightly holes in ceilings can be caused by various factors, including accidental damage or the removal of fixtures. The repair process involves patching and matching the surrounding texture and color to restore the ceiling’s appearance.
Stains on ceilings are often a sign of water infiltration or mold growth. Addressing the underlying issue, such as roof leaks or plumbing problems, and treating any mold is crucial to prevent further damage and maintain indoor air quality.
Cracks
Cracks in ceilings are common issues that often necessitate prompt repair using effective solutions such as stress crack tape or drywall repair clips to ensure structural integrity and visual appeal.
These cracks can result from a variety of factors, including settlement, moisture, temperature changes, or even poor construction. When left unaddressed, these cracks can compromise the stability of the entire ceiling structure and lead to further damage over time. It’s crucial to inspect and address these issues promptly, as they can also impact the overall aesthetics of the space.
By employing stress crack tape or drywall repair clips, these specialized solutions provide reinforcement and support to the affected areas, preventing the cracks from widening and ensuring a seamless, durable finish. They help maintain the visual appeal of the ceiling, restoring it to its original state.
Water Damage
Water damage in ceilings can result from various factors, including leaks from central AC systems or compromised drain lines, leading to the potential development of mold and necessitating comprehensive repair and remediation measures.
Central AC leaks pose a significant risk, as even minor drips can gradually seep into the ceiling, causing water damage and creating an ideal environment for mold growth. Similarly, issues with drain line integrity can lead to water accumulation, further exacerbating the potential for ceiling damage and mold infestation. Addressing these underlying issues promptly is crucial to prevent structural deterioration and potential health hazards associated with mold exposure.
Sagging
Sagging ceilings can indicate underlying structural issues and may require professional assessment and repair using suitable materials such as drywall and specialized tools like texture guns to ensure lasting durability and adherence to warranty standards.
There are several potential causes of sagging ceilings, including water damage, inadequate support from the roof structure, or even improper installation of the ceiling materials. It is crucial to have these issues evaluated by a professional to identify the root cause and determine the most effective repair strategy. Professional evaluation not only ensures the safety and stability of the structure but also helps in identifying any potential risks or future issues.
In terms of repair, using the right materials and tools is essential for achieving a long-lasting solution. Drywall is often the material of choice for repairing sagging ceilings due to its strength and flexibility. Texture guns are frequently used to match the existing ceiling texture seamlessly, providing a cohesive and visually appealing result.
Adhering to warranty standards is paramount not only for the quality of the repair but also for potential future maintenance or warranty claims. Using appropriate materials and following recommended repair techniques ensures that the repairs are compliant with the warranty guidelines, providing peace of mind for the property owner.
Holes
Ceiling holes, whether from accidental damage or previous fixture installations, require meticulous repair using suitable materials such as drywall and wall liners, along with precision application techniques using texture guns to seamlessly integrate the patched areas with the existing ceiling surface.
These holes can be caused by a variety of events, including water damage, structural movement, or simply wear and tear over time. Appropriate repair materials are crucial to ensure the long-term stability and aesthetic appeal of the patched areas. Using high-quality drywall and wall liners not only provides a reliable structure for the repair, but also ensures a seamless finish that blends flawlessly with the surrounding ceiling surface.
Stains
Ceiling stains, often attributed to water damage or previous popcorn texture, necessitate proactive repair and remediation measures, particularly in humid environments such as Southern Ontario, requiring thorough water damage mitigation and potentially popcorn removal to prevent recurring issues.
The combination of moisture and organic materials on ceilings presents unique challenges. The abundance of humidity can exacerbate the impact of water damage, making it essential to address the issue promptly and effectively.
Water damage mitigation becomes crucial in such scenarios to prevent further deterioration and the formation of stubborn stains. Removing the popcorn texture from the affected areas can help eliminate the source of potential moisture retention, reducing the likelihood of future stains and restoring the aesthetic appeal of the ceiling.
Tools and Materials Needed for DIY Ceiling Repairs
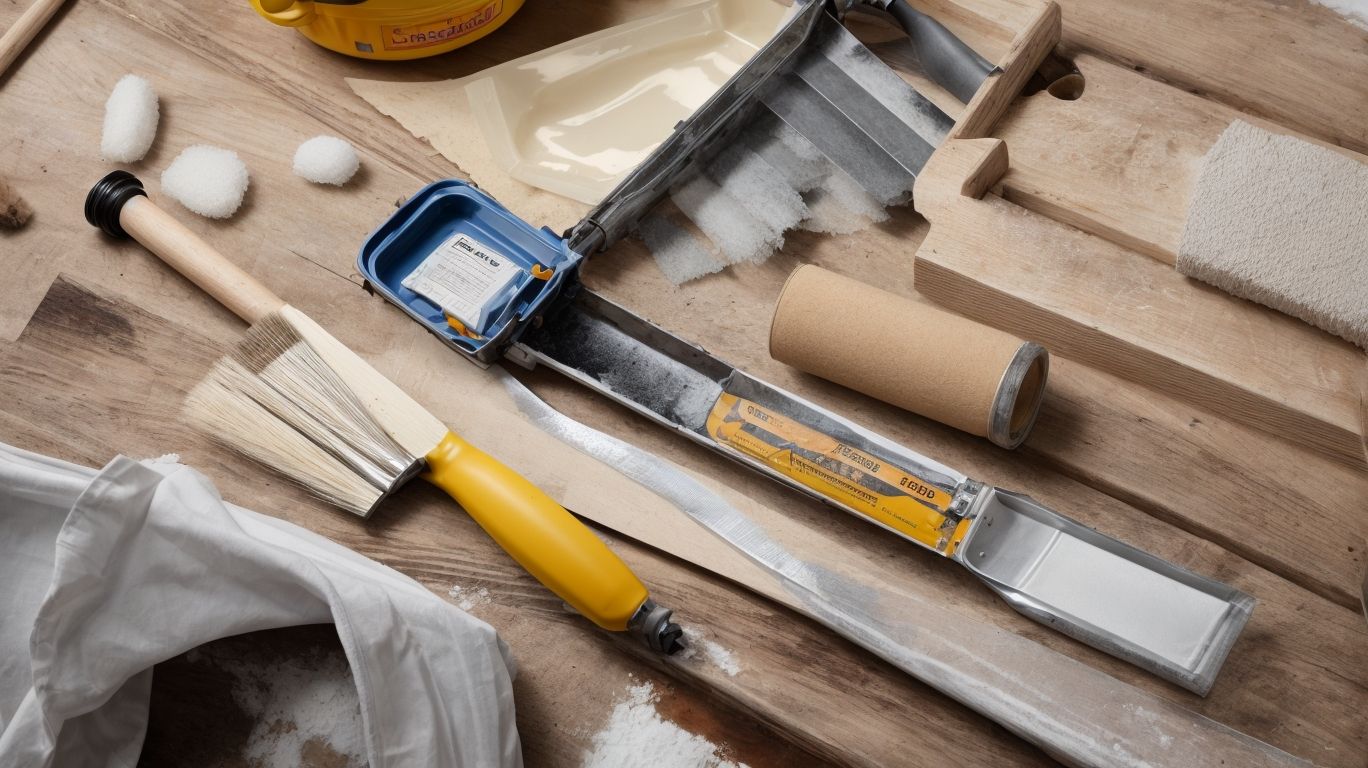
Effective DIY ceiling repairs require specific tools and materials such as drywall, texture guns, and wall liners, alongside adherence to essential safety precautions to ensure successful outcomes and minimize potential hazards.
In terms of repairing ceilings, drywall is a fundamental material that provides the structural support and aesthetic finish.
Texture guns and wall liners are essential for applying and smoothing out textures and covering imperfections, creating a seamless look.
Safety precautions like wearing protective gear, using sturdy ladders, and ensuring electrical safety are crucial to prevent accidents and injuries during the repair process.
Step-by-Step Guide for DIY Ceiling Repairs
Executing DIY ceiling repairs involves a systematic process encompassing damage assessment, material acquisition, and meticulous execution, with particular emphasis on addressing water damage and mold concerns while adhering to warranty standards and safety precautions.
Before starting any repair work, it’s crucial to conduct a thorough damage assessment. Look for signs of water stains, bulging drywall, or discoloration, which could indicate water damage or mold growth. Once the issues are identified, proceed to acquire the necessary materials such as drywall or plaster, joint compound, sandpaper, a putty knife, and paint to match the existing ceiling.
When executing the repair, it’s essential to address water damage by identifying and addressing the source of the leak to prevent future issues. Be sure to remediate any mold by scrubbing affected areas with a mixture of water and detergent. Ensure that all repair work meets the warranty guidelines to avoid voiding any coverage.
Always prioritize safety by wearing protective gear such as goggles, gloves, and a dust mask while working with materials and tools. Following these comprehensive steps will result in a successful DIY ceiling repair that not only addresses damage but also ensures the longevity and safety of your home.
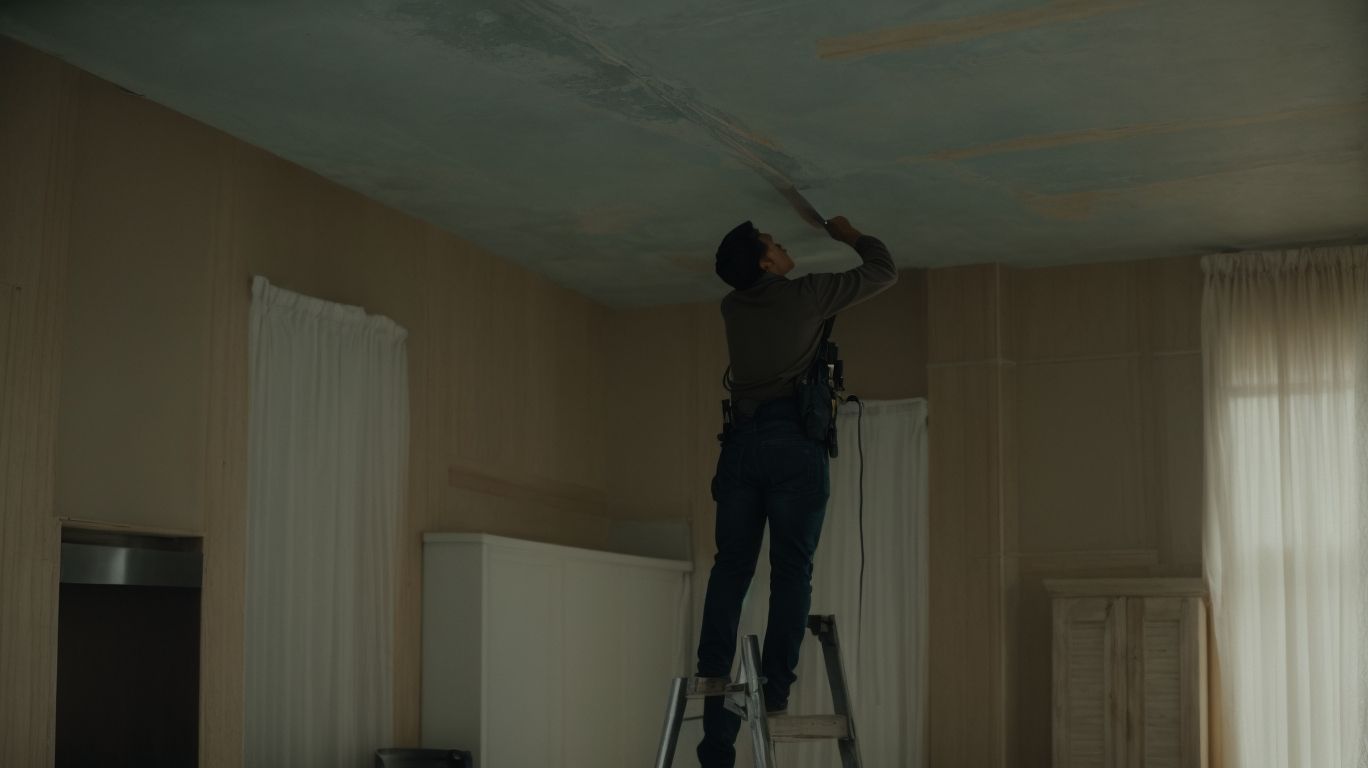
Assess the Damage
The initial step in DIY ceiling repairs involves a comprehensive assessment of the damage, particularly focusing on identifying water damage and potential mold growth, while ensuring adherence to essential safety precautions and considering the impact on basement makeovers.
Water damage assessment is crucial as it can lead to structural issues and mold formation, potentially causing long-term health hazards.
When conducting a mold assessment, it’s important to not only identify visible mold but also to address any musty odors, which could indicate hidden mold behind the ceiling.
Safety precautions such as wearing protective gear and ensuring proper ventilation are essential to minimize health risks during the repair process.
Considering the relevance to basement makeovers, addressing ceiling damage becomes pivotal in creating a safe and aesthetically pleasing living space.
Gather Necessary Materials
Following damage assessment, the procurement of essential materials from reliable sources like Sears, including drywall, wall liners, and considerations for central AC integration, is crucial for effective DIY ceiling repairs.
Gathering the necessary repair materials from trusted suppliers such as Sears ensures the quality and authenticity of the products, contributing to the durability and longevity of the ceiling repairs. When dealing with central AC systems in the vicinity of the damaged area, it’s important to consider the airflow and ventilation to ensure seamless integration and proper functioning.
Specific materials such as drywall and wall liners play a pivotal role in restoring ceiling structures, providing stability and insulation. Opting for high-quality drywall and reliable wall liners can significantly enhance the overall structural integrity and aesthetic appeal of the repaired ceiling.
Prepare the Area
Preparing the repair area involves meticulous safety precautions, particularly concerning potential mold exposure and the application of preventive measures such as good-bye cracks to ensure a safe and effective environment for DIY ceiling repairs.
Before starting the repair work, it is vital to thoroughly inspect the area for any signs of mold or moisture. Proper ventilation and respiratory protection, such as masks, are essential to minimize the risk of inhaling mold particles. It’s crucial to seal off the repair area to prevent the spread of mold spores to other parts of the home.
Applying good-bye cracks not only helps in creating a smooth surface but also acts as a protective barrier against potential moisture and mold formation, ensuring a long-lasting repair.
Fix Cracks and Holes
Addressing cracks and holes in ceilings involves the application of specialized materials such as drywall repair clips and wall liners, along with the strategic use of stress crack tape for lasting and visually seamless repair outcomes.
In terms of fixing cracks and holes in ceilings, it’s essential to choose the right repair materials and techniques to ensure a professional and long-lasting result.
Drywall repair clips provide sturdy reinforcement for larger cracks and holes, while wall liners offer a smooth surface for patching.
The strategic use of stress crack tape is crucial for preventing recurring cracks and achieving a seamless finish.
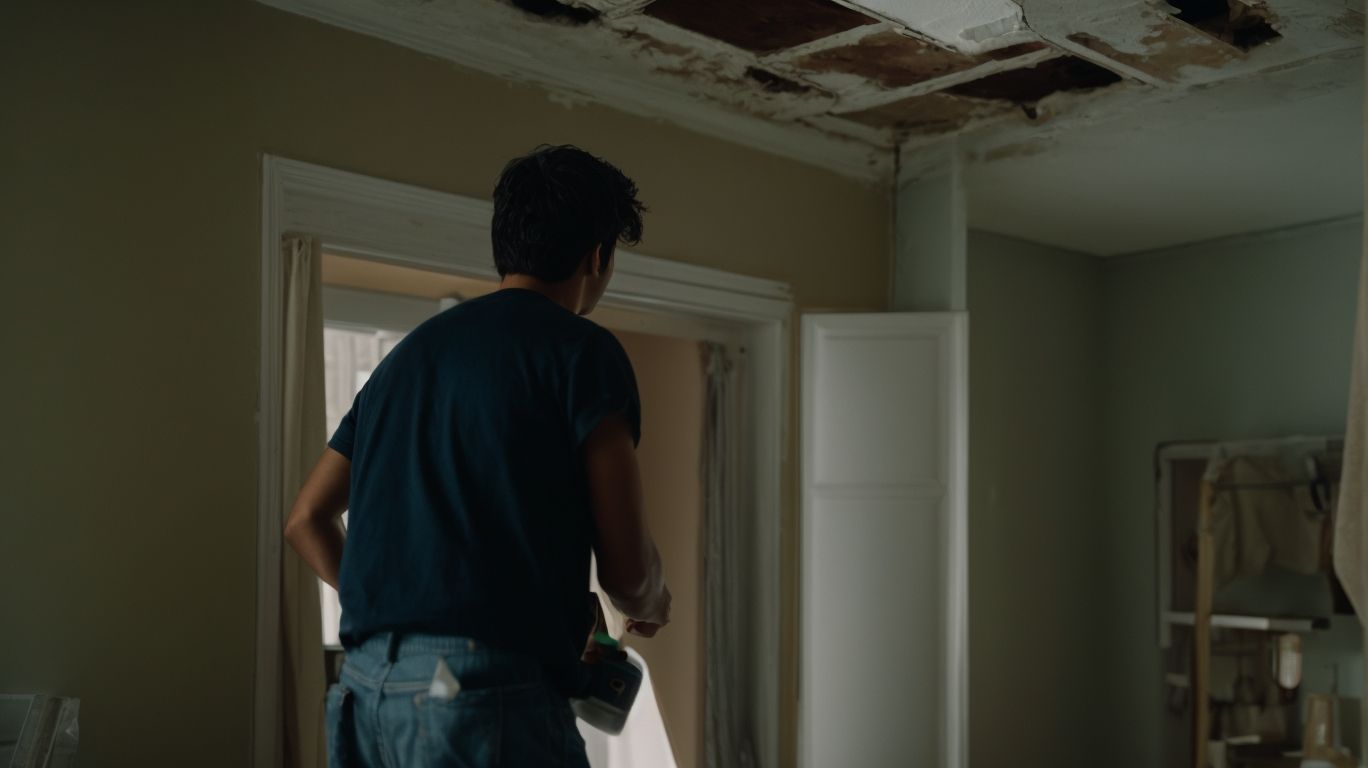
Repair Water Damage
Effective DIY repairs for water damage in ceilings necessitate proactive measures such as drywall replacement and considerations for central AC interactions to ensure comprehensive remediation and prevent potential mold growth.
When addressing water damage in ceilings, it’s crucial to thoroughly inspect the affected areas for any signs of mold growth and address it promptly. Ahead of undertaking drywall replacement, it’s recommended to ensure that the source of the water damage has been rectified to prevent further issues. Central AC interactions can significantly impact the drying process, so it’s essential to take them into account. By adopting a holistic approach, individuals can effectively mitigate the damage and prevent any long-term repercussions.
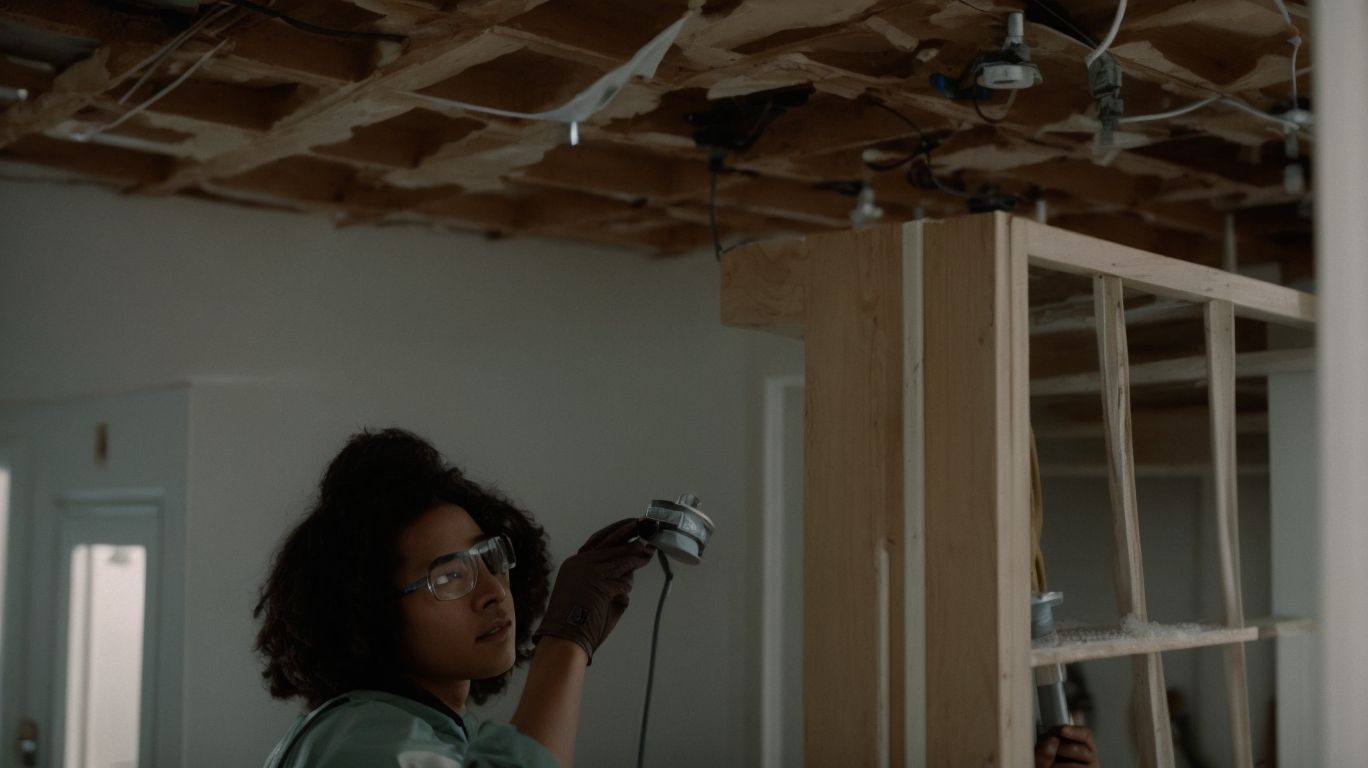
Fix Sagging Ceilings
Sagging ceilings demand meticulous repair using appropriate materials such as drywall and specialized tools like texture guns to ensure structural integrity and adherence to warranty standards for lasting and reliable outcomes.
When addressing the issue of sagging ceilings, it’s crucial to choose the right drywall that meets the necessary strength and flexibility requirements. Using top-quality materials not only ensures a secure base for the repair, but also contributes to the overall durability of the structure. The application of specialized tools like texture guns allows for accurate and seamless finishing, minimizing the risk of future sagging. Adhering to warranty standards throughout the repair process underscores the commitment to providing long-term solutions and customer satisfaction.
Cover Stains
Covering stains in ceilings, particularly those attributed to water damage or previous popcorn texture, requires proactive repair measures, especially in humid environments like Southern Ontario, necessitating considerations for water damage mitigation and potential popcorn removal.
When addressing water damage-related stains on ceilings in a humid location, it’s essential to prioritize water damage mitigation techniques to prevent further issues. This may involve identifying and fixing the source of moisture, and ensuring proper ventilation to decrease humidity levels. In areas like Southern Ontario where the climate exacerbates humidity, addressing the underlying cause and adopting long-term solutions becomes even more critical.
Safety Precautions
Undertaking DIY ceiling repairs requires strict adherence to essential safety precautions, particularly concerning potential mold exposure and the application of preventive solutions such as stress crack tape to ensure a secure and effective repair environment.
It is crucial to assess the extent of damage and plan the repair process meticulously. Before starting any work, it’s important to wear appropriate protective gear including safety glasses, dust mask, and gloves to protect against dust and mold exposure. Ensuring proper ventilation in the repair area is also essential to minimize respiratory discomfort and exposure to potentially harmful particles in the air.
When dealing with ceiling repairs, it’s essential to check for signs of water damage or leaks as these can lead to mold growth. In case of mold presence, it’s imperative to address it promptly following recommended guidelines to avoid health hazards. Using mold-resistant materials and applying anti-mold solutions as a preventive measure prior to repair work can significantly reduce the risk of mold growth post-repair.
When to Call a Professional
While DIY ceiling repairs offer cost-effective solutions, certain circumstances, such as extensive water damage or mold infestation, may necessitate professional intervention to ensure comprehensive remediation, structural integrity, and adherence to warranty standards.
The decision to engage professionals for ceiling repairs becomes imperative when the damage extends beyond surface-level issues. Extensive water damage, for instance, may compromise the structural integrity of the ceiling, posing risks of collapse if not addressed effectively. Professional intervention is crucial in instances of mold infestation, as the proper remediation requires specialized knowledge and equipment to effectively eliminate the mold and prevent its reemergence.
Professional involvement in ceiling repairs ensures that all work is performed according to warranty standards, providing the necessary documentation and workmanship to prevent voiding any existing warranties on the property. This adherence to warranty requirements not only safeguards the homeowner’s investment but also guarantees the longevity and performance of the repaired ceiling.
Tips for Maintaining a Healthy Ceiling
Maintaining a healthy ceiling involves proactive measures such as regular central AC maintenance, prompt water damage mitigation, and the application of preventive solutions like good-bye cracks and drywall repair clips to prevent potential structural and aesthetic issues.
Regular central AC maintenance is crucial to ensure the efficient operation of the system, reducing the risk of leaks and water damage caused by malfunctioning units.
Staying vigilant for signs of water damage, such as discoloration, sagging, or mold growth on the ceiling, is essential for prompt mitigation, preventing the spread of damage and potential health hazards.
Implementing preventive solutions like good-bye cracks and drywall repair clips can help maintain the integrity of the ceiling by addressing any minor cracks or damage before they escalate into more significant issues.
Frequently Asked Questions
What is a do it yourself ceiling repair?
A do it yourself ceiling repair is a process of fixing any damages or imperfections on a ceiling without hiring a professional contractor.
What are the benefits of doing a do it yourself ceiling repair?
The benefits of doing a do it yourself ceiling repair include saving money, gaining valuable skills, and having control over the repair process.
What are some common tools needed for a do it yourself ceiling repair?
Some common tools needed for a do it yourself ceiling repair include a ladder, putty knife, drywall compound, sandpaper, and paint.
What are the steps to repair a water damaged ceiling on your own?
The steps to repair a water damaged ceiling on your own are: identify the source of the water damage, cut out any damaged drywall, repair any underlying issues, patch the hole with joint compound, sand and smooth the area, and paint the patched area.
What are some safety precautions to take when doing a do it yourself ceiling repair?
Some safety precautions to take when doing a do it yourself ceiling repair include wearing protective gear, using a sturdy ladder, and turning off the electricity in the area being repaired.
What are some common mistakes to avoid when attempting a do it yourself ceiling repair?
Some common mistakes to avoid when attempting a do it yourself ceiling repair include not properly preparing the area, using the wrong materials, and not allowing enough time for the repair to dry and set.